Launch Your WordPress Website for Just $1 — Limited deals available. Don’t miss out!


Docs - Create a Website

Web Control Panel Login
To access the control panel, you must first login to the customer portal and then navigate to Services > Manage Service > Login to control panel

Websites
Installation
1. Navigate to the ‘Websites’ option in the side menu
2. Select either the Production or Staging website environment
3. Start from scratch or use install the WordPress application
4. Enter your domain name (e.g., example.com.au) to connect it to your website
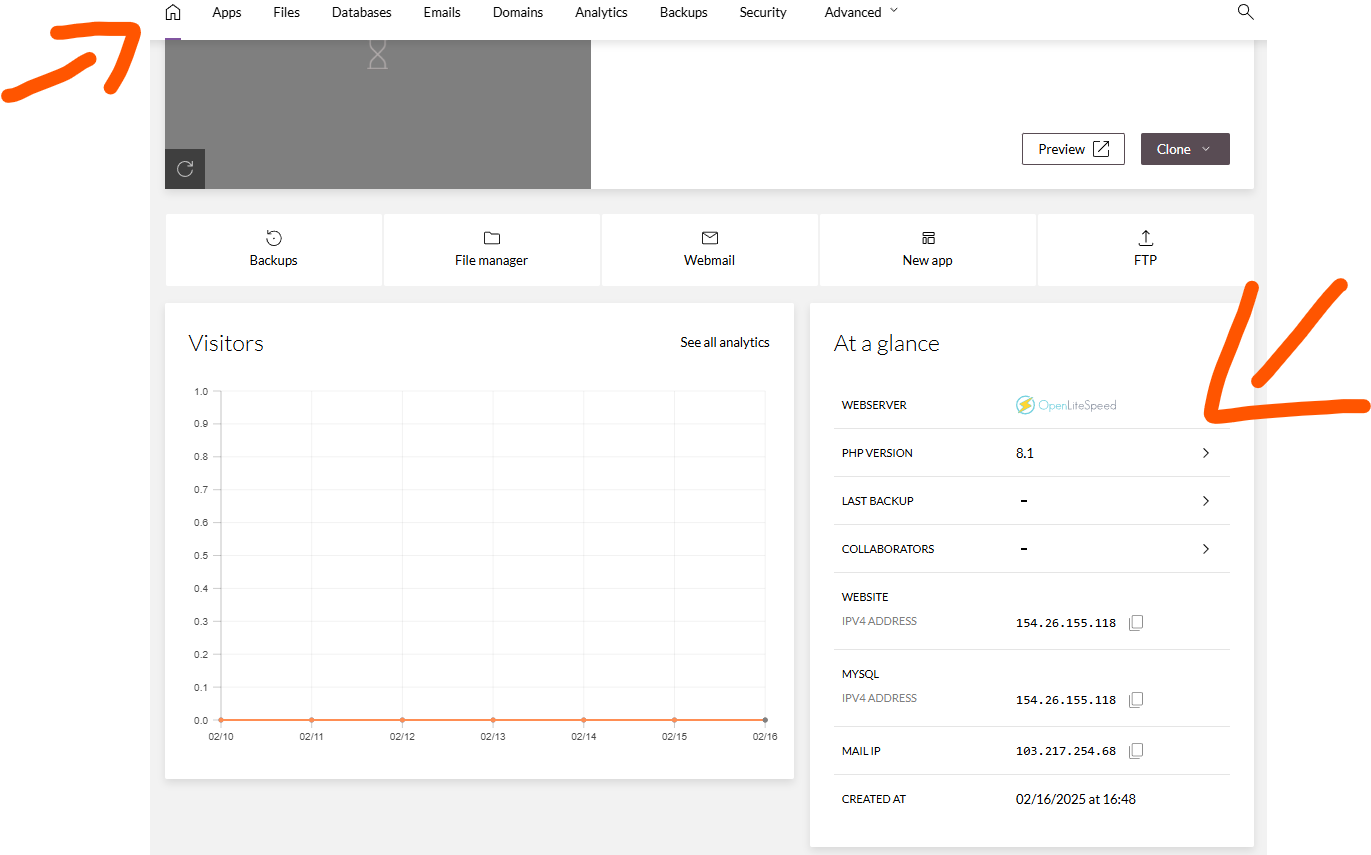
When a website is created, you will be able to access the full suite of hosting tools—including the file manager, databases, domains, and emails—by clicking on the website in your "Websites" tab from the side menu.
See the video for instructions
Installation
1. Install App (We only offer WordPress for the time being)
2. Fill in the credentials
3. Click the install button
2. Fill in the credentials
3. Click the install button
See the video for instructions
Management
You can click on the 'Manage' button on any website in your Apps list. This will bring up a menu with options to login to your WordPress dashboard and more.
You can access the full suite of hosting tools by clicking on the specific website in the 'Websites' tab.
See the video for instructions
Domains
For the Domains tab and DNS zone to appear, you first need to create a website, as explained above.
You can go to the 'Domains' tab in the control panel to manage the DNS records.
If are using a domain provider other than Web Host Wizards, you can either
- Change the domain nameservers to
ns1.webhostwizards.net.au
ns2.webhostwizards.net.au
or
- Find the IP address details in the home tab of your respective website. From there you can point the required records to the respective IP address.
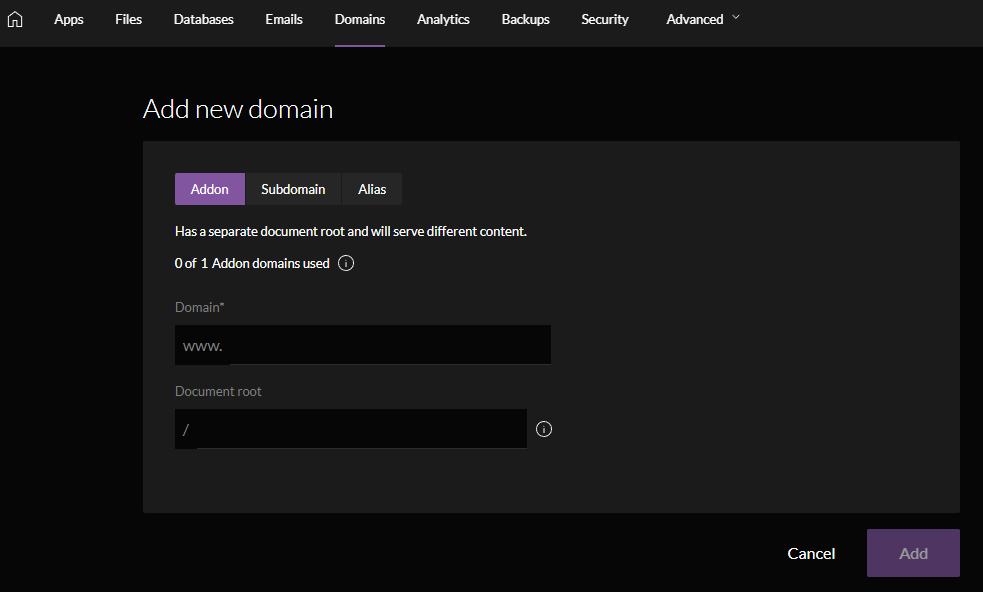
- Go to the 'Domains' tab in the control panel
- Click the 'Add Domain' button (on the far right side)
- Here you can choose either, Addon, Subdomain or Alias domain creation.

Website Importer
Note
Import
1. Navigate to 'Websites' in the side menu and click on the 'Import website' link.
2. Choose the control panel your are importing from, either cPanel or Plesk.
3. Follow the instructions and upload your backup
4. Review the import and confirm the details
When the import is complete, you will be able to see your website in the 'Websites' menu tab.
If you require assistance please don't hesitate to reach out!
